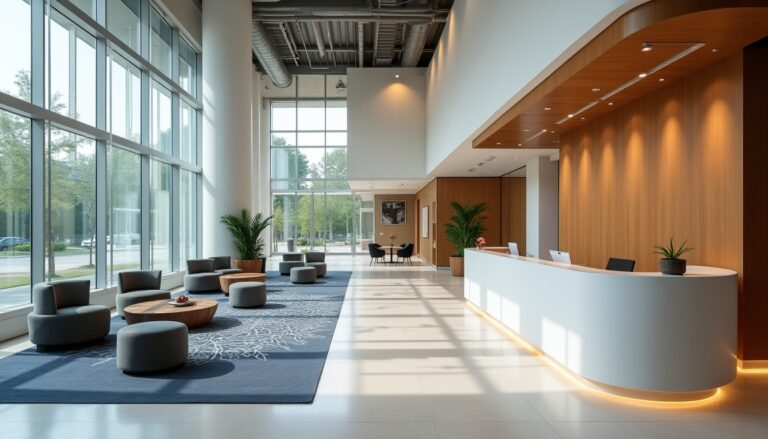
Creating an efficient reception layout can significantly impact your wedding celebration’s overall flow and guest experience.
A well-planned layout ensures smooth transitions between different areas while maintaining comfort and engagement for all attendees.
This guide offers practical solutions for optimizing your reception space, whether you’re working with an intimate venue or a grand ballroom.
Essential Reception Areas to Include
- Welcome Area: Entry space for guest book and gift table
- Cocktail Space: Standing tables and seating for pre-dinner mingling
- Main Dining Area: Tables arranged for optimal conversation and flow
- Dance Floor: Central location visible to most guests
- Bar Station: Multiple access points to prevent crowding
- Buffet/Food Service Area: Space for lines to form without blocking pathways
Space Planning Guidelines
- Allow 12-15 square feet per guest for comfortable movement
- Keep 5-6 feet between dining tables
- Plan 2-3 square feet per person on the dance floor
- Create 3-foot-wide pathways minimum between areas
Traffic Flow Optimization
Position the bar and buffet stations away from the main entrance to prevent bottlenecks.
Create multiple paths between different areas to allow easy guest movement.
Place the dance floor centrally but ensure it doesn’t block paths between tables.
Table Arrangement Tips
| Table Type | Ideal Space Needed | Guest Capacity |
|---|---|---|
| 60″ Round | 100 sq ft | 8-10 guests |
| 72″ Round | 144 sq ft | 10-12 guests |
| 8′ Rectangle | 120 sq ft | 8-10 guests |
Special Considerations
- Photography Areas: Include space for formal photos and candid shots
- Elderly Guests: Position some tables closer to amenities
- Children’s Area: Consider a separate space for young guests
- Vendor Space: Designate areas for DJ/band, catering prep
Layout Visualization Tools
- AllSeated: Free 3D layout planning tool
- Social Tables: Professional event layout software
- WeddingWire: Seating chart creator
Making It Work In Your Space
Consider working with a professional wedding planner for complex layouts (Find certified planners).
Request a floor plan from your venue and confirm all measurements before finalizing your layout.
Schedule a walk-through with your vendors to ensure the layout accommodates their needs.
Success Strategies
Create a detailed floor plan at least 2-3 months before the wedding.
Test the layout during venue visits by walking through guest paths.
Keep emergency exits and accessibility requirements in mind when planning.
Layout Adjustments
Remain flexible with your layout plan, as last-minute changes may be necessary. Consider having a backup arrangement for outdoor spaces in case of weather changes.
Common Layout Challenges
- Awkward Spaces: Use plants, draping, or décor to mask challenging areas
- Multiple Rooms: Create clear signage and traffic flow between spaces
- Limited Space: Consider staggered dinner seating or food stations
- Pillar Obstruction: Incorporate columns into your design with lighting or décor
Timeline Integration
Align your layout with your reception timeline to ensure smooth transitions between events:
- Position the cake display for optimal cutting ceremony visibility
- Create clear paths for grand entrance and exit routes
- Plan space for special dances that all guests can observe
- Consider sunset timing for outdoor photography locations
Creating Atmosphere Zones
- Quiet Areas: Design conversation-friendly spaces away from music
- Activity Zones: Group similar activities together
- Photo Opportunities: Establish Instagram-worthy spots throughout
- Comfort Spaces: Include lounge areas for guests needing rest
Maximizing Your Reception Design
A thoughtful layout serves as the foundation for an unforgettable celebration. Review your plan with key vendors, consider your guests’ diverse needs, and ensure your layout reflects both functionality and your vision for the perfect wedding day.
Document your final layout and share it with all vendors and venue staff before the event. This attention to detail will help create a seamless experience for everyone involved in your special day.
Remember that the most successful reception layouts balance practical considerations with personal touches, creating an environment where memories can flourish and every guest feels included in your celebration.
FAQs
- How do I determine the ideal space needed for my wedding reception layout?
Allow approximately 20-25 square feet per guest for comfortable movement, which includes space for tables, chairs, dance floor, and circulation areas. - What’s the recommended dance floor size for my reception?
Calculate 4-5 square feet per attending guest, with a minimum size of 200 square feet for up to 50 guests. - How much space should I leave between dining tables?
Maintain 60 inches between round tables and 54 inches between rectangular tables to allow comfortable guest movement and server access. - Where should I position the bar relative to other reception elements?
Place the bar away from the entrance to prevent congestion, ideally 15-20 feet from dining areas and with 8-10 feet of space in front for queuing. - What’s the optimal placement for the DJ or band setup?
Position entertainment adjacent to the dance floor but not directly facing guest tables, allowing 10-12 feet of dedicated space for equipment. - How can I create effective traffic flow at my reception?
Create clear pathways between key areas (entrance, tables, dance floor, bar, restrooms) with minimum 5-foot-wide corridors for guest movement. - What’s the best arrangement for a buffet setup?
Design double-sided buffet lines when possible, allowing 30-36 inches of table width and at least 8 feet of space for guest lines on each side. - How should I arrange seating for optimal guest interaction?
Mix round and rectangular tables, keeping tables 8-10 feet from walls and positioning them so guests can see the dance floor and main events. - Where should the gift table and guest book station be located?
Position near the entrance but not blocking traffic flow, with approximately 6-8 feet of space for guests to gather and sign. - What’s the ideal placement for a photo booth or activity stations?
Set up along peripheral walls away from main traffic areas, allowing 8-10 feet of space for guests to gather and participate.


